Your Single Source Partner
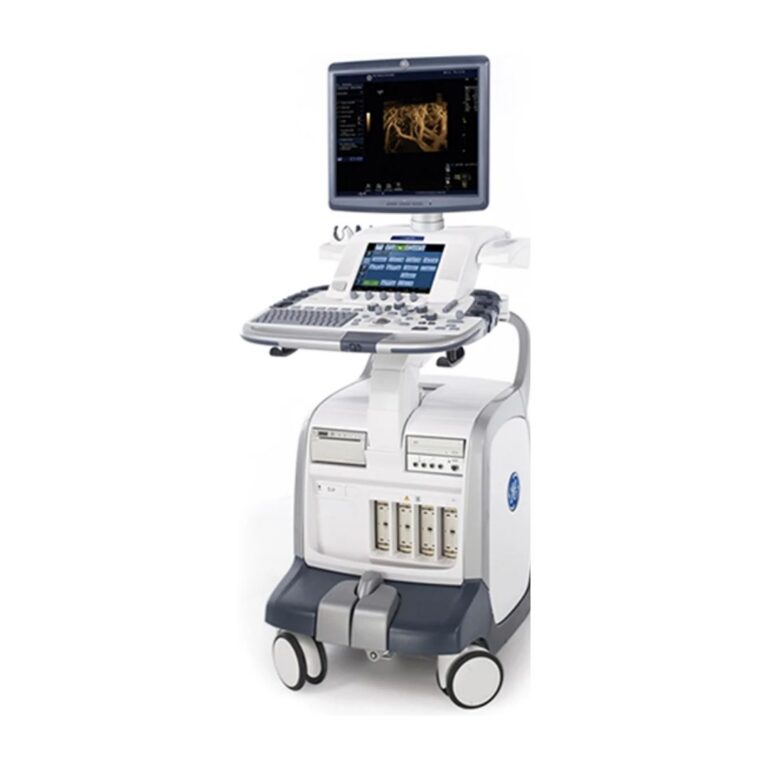
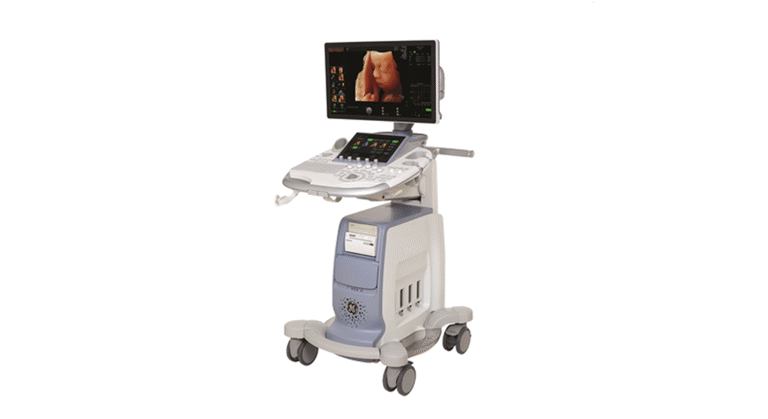
GE Vivid E9 Technical Training & Tutorial
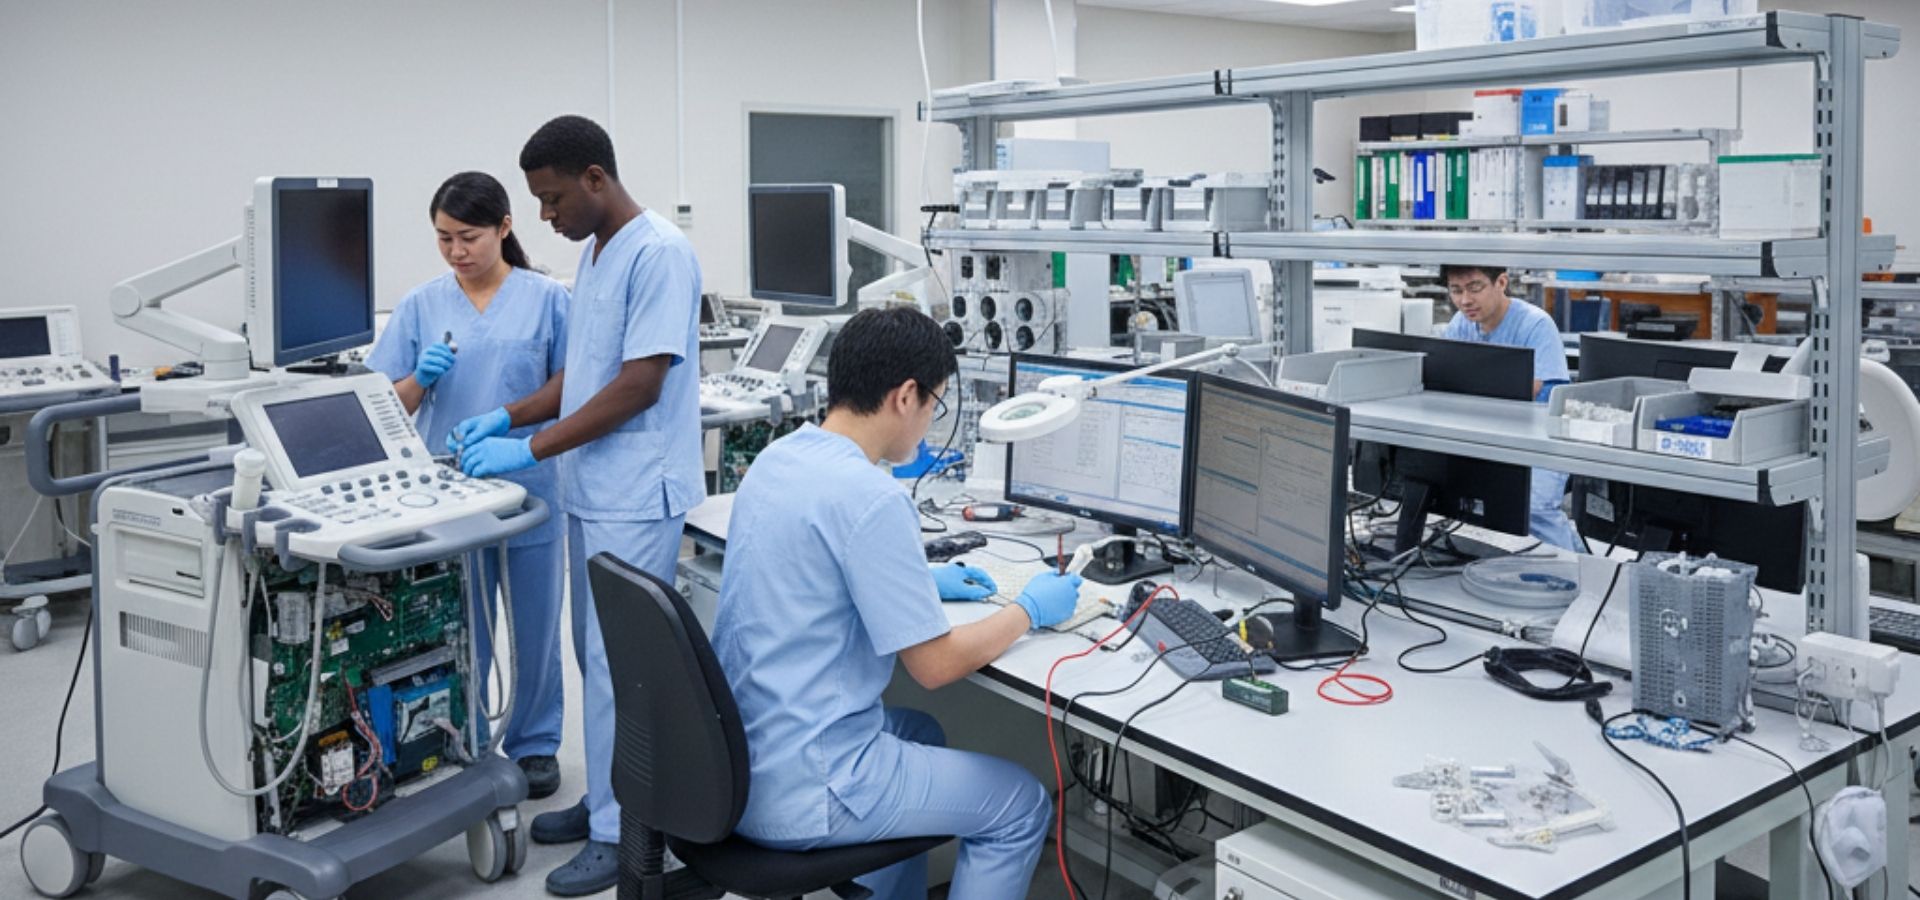
MXR Imaging, Inc. is the nation’s largest independent provider of diagnostic imaging equipment sales, service, and support.
MXR Imaging, Inc. is the nation’s largest independent provider of diagnostic imaging equipment sales, service, and support.
Enhance your technical proficiency with our GE Vivid E9 technical training and tutorial series. This resource covers vital system workflows, including software installation, DICOM setup, and performing a secure system backup to protect patient data. For physical repairs, our videos offer step by step guidance on accessing the front end card cage, removing the BEP 6, and replacing core interface components like the LCD, keyboard, and upper operator panel. Following these professional service protocols helps ensure your system delivers the reliability needed for high-quality cardiac imaging and supports the longevity of your diagnostic suite, alongside your X-ray and other imaging assets.
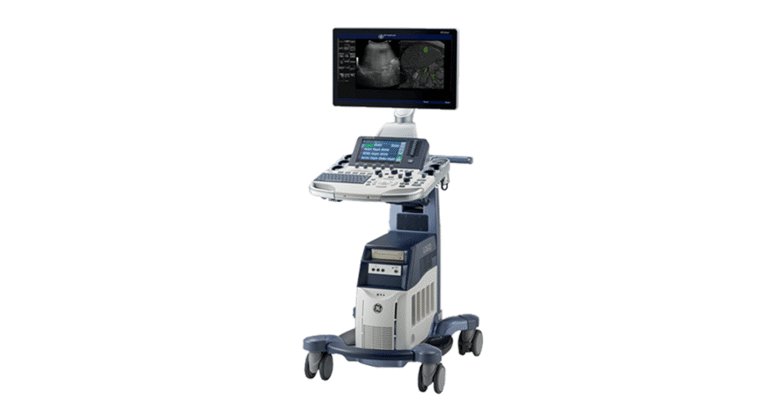
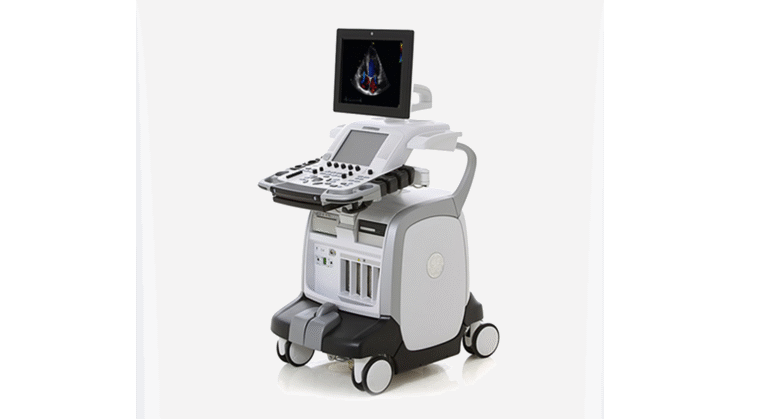
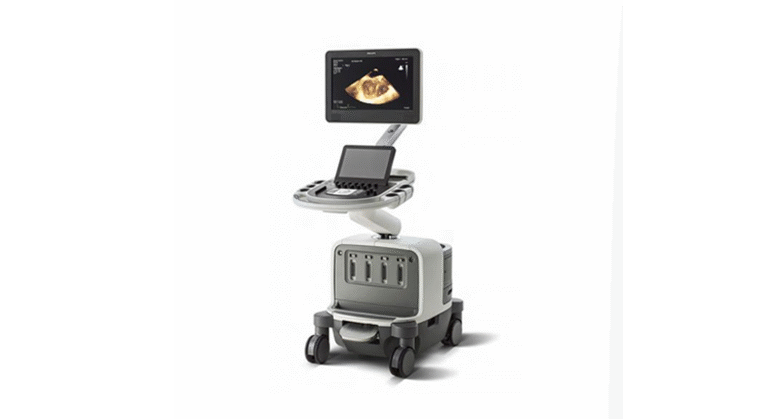
Follow our detailed video guides for expert instructions on servicing and maintaining the GE, Philips, and Siemens systems featured below.